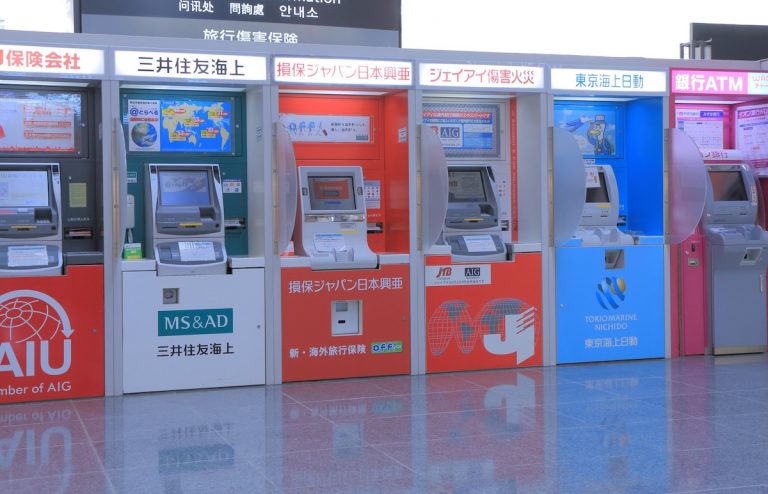
When you live in Japan, you will have to make a bank transfer at one point or another. Don’t let the kanji and thought of sending your money to the wrong recipient overwhelm you. The process is actually simple! Once you go through the guide below, you can head on over to the nearest ATM and tackle that bank transfer like a pro.
Furikomi introduction
You might be wondering what a domestic bank transfer in Japan entails. Since we all know that the country is all about convenience, you can expect to accomplish a lot with a furikomi. First, you can transfer money to any local bank account. You can also pay your rent, utility bills, credit card bills, and basically any payment to a Japanese bank account.
Regardless of the bank, making an ATM transfer follows the same process which goes:
- Select ofurikomi
- Insert cash card
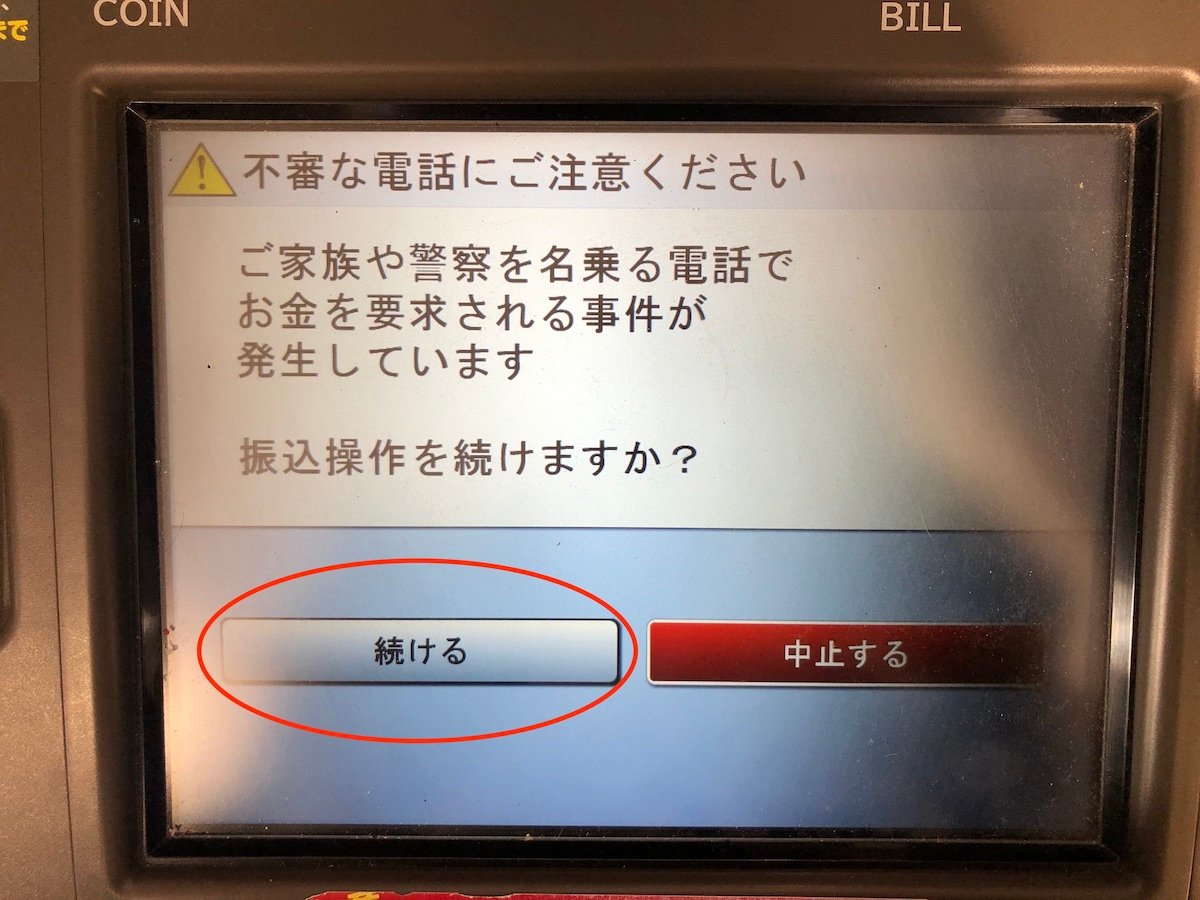
- confirm the anti-scam/fraud advisory (if any)
- enter your pin code
- choose a recipient (if registered) or search for the bank name and branch
- encode their account number (if not registered)
- add the amount
- add the recipient’s name (if required)
- confirm (name of the recipient will appear) along with other details for verification
- confirm the fees (if any)
- agree to the transfer and you’re done!
- Furikomi: お振り込み / お振込
- Pin: 暗証番号 (anshou bangou)
- Account or beneficiary name: 受取人 (uketorinin)
- Financial institution: 振込先 (furikomi saki)
- Bank name: 銀行名 (ginkoumei)
- Branch name: 支店名 (shiten)
- Branch code: 金融機関コード (kinyuukkan koudo)
- Account number: 口座番号 (kouza bangou)
- Bank: 銀行 (ginkou)
- Account: 口座
- Regular account: 普通
- Checking account: 当座
- Confirm (usually a green button): 確認 (kakunin)
- Correction (usually a yellow button): 訂正 (teisei)
- Amount: 金額 (kingaku)
- Cancel (usually a red button): 取り消し (torikeshi)
- Go back or return: 前に戻る (mae ni modoru)
- Cash: 現金 (genkin)
Here are some screenshots to do a bank transfer using an MUFG and JP Post ATM.
Choose ofurikomi from the selection.
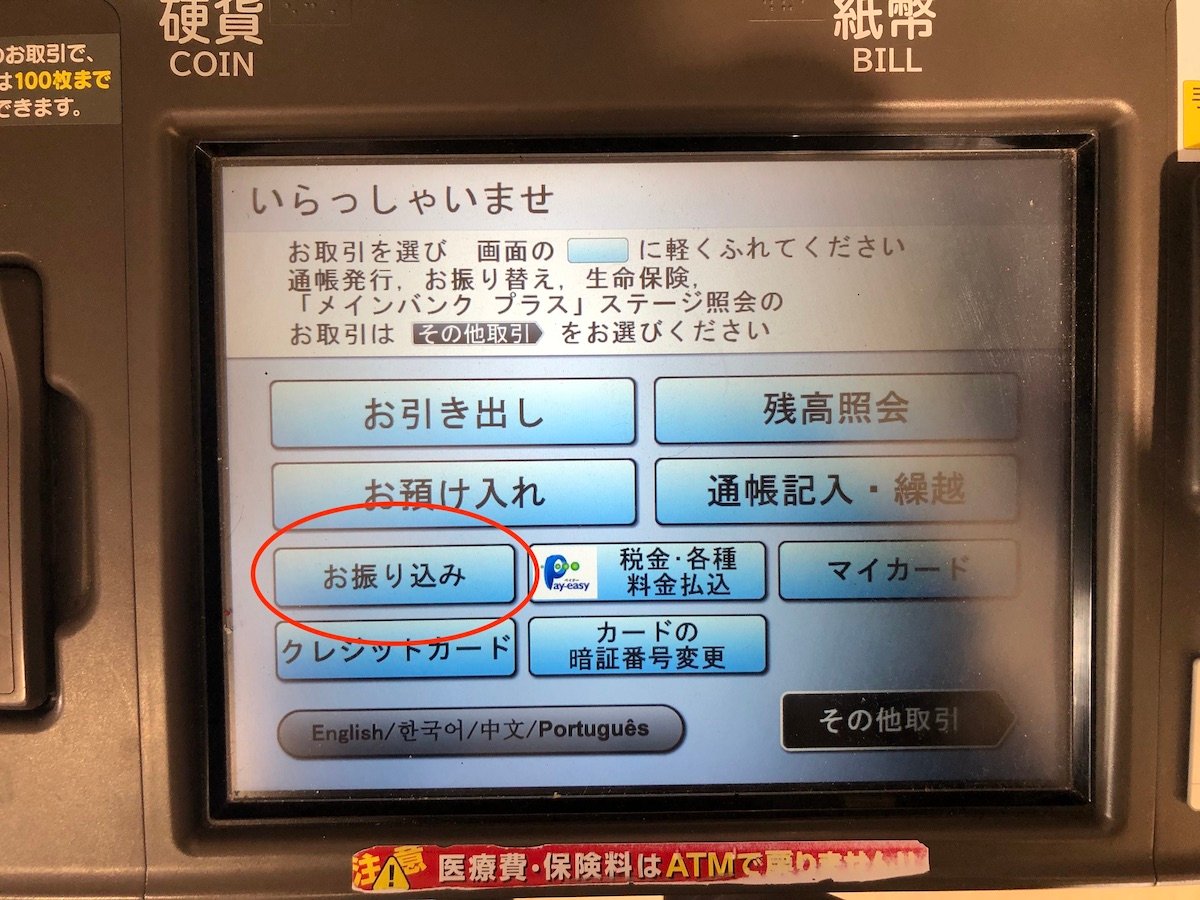
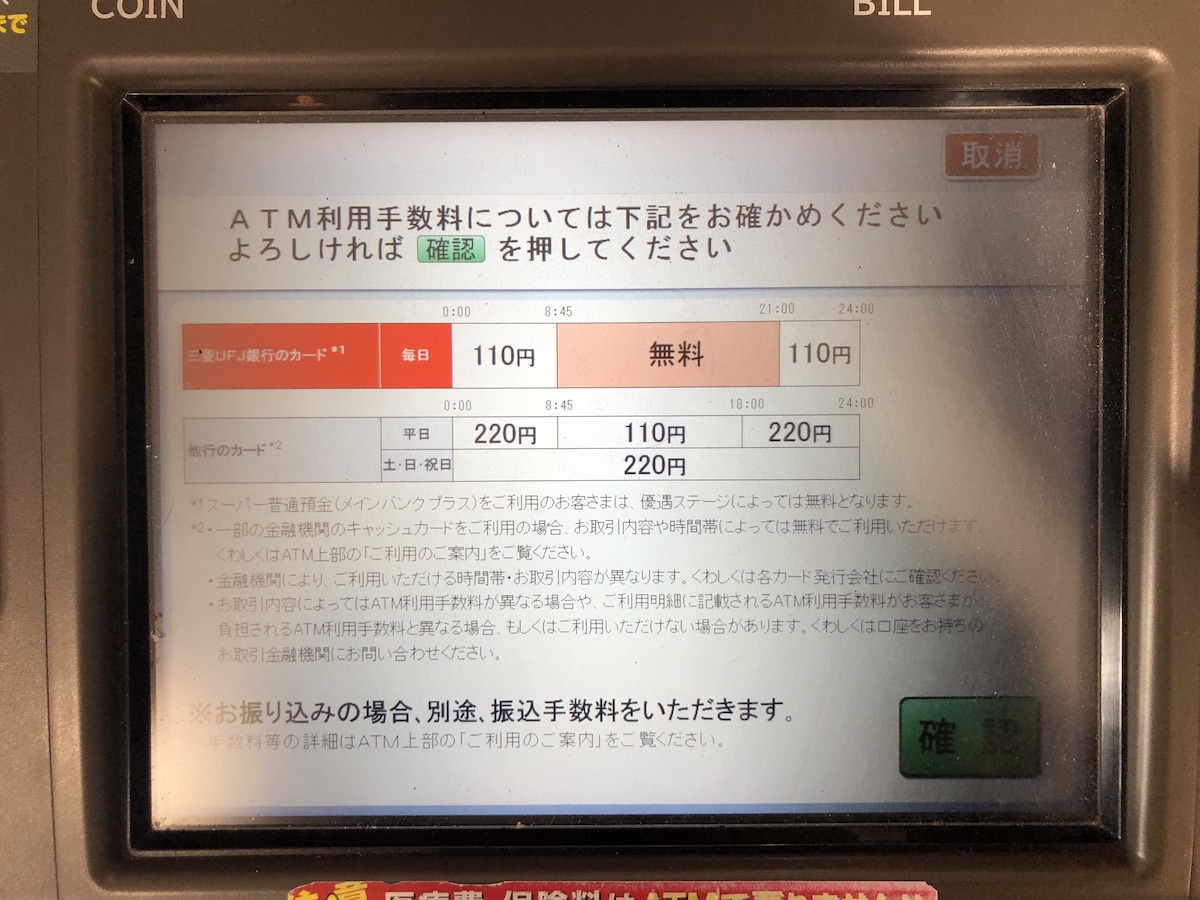
You will be informed of the fees.
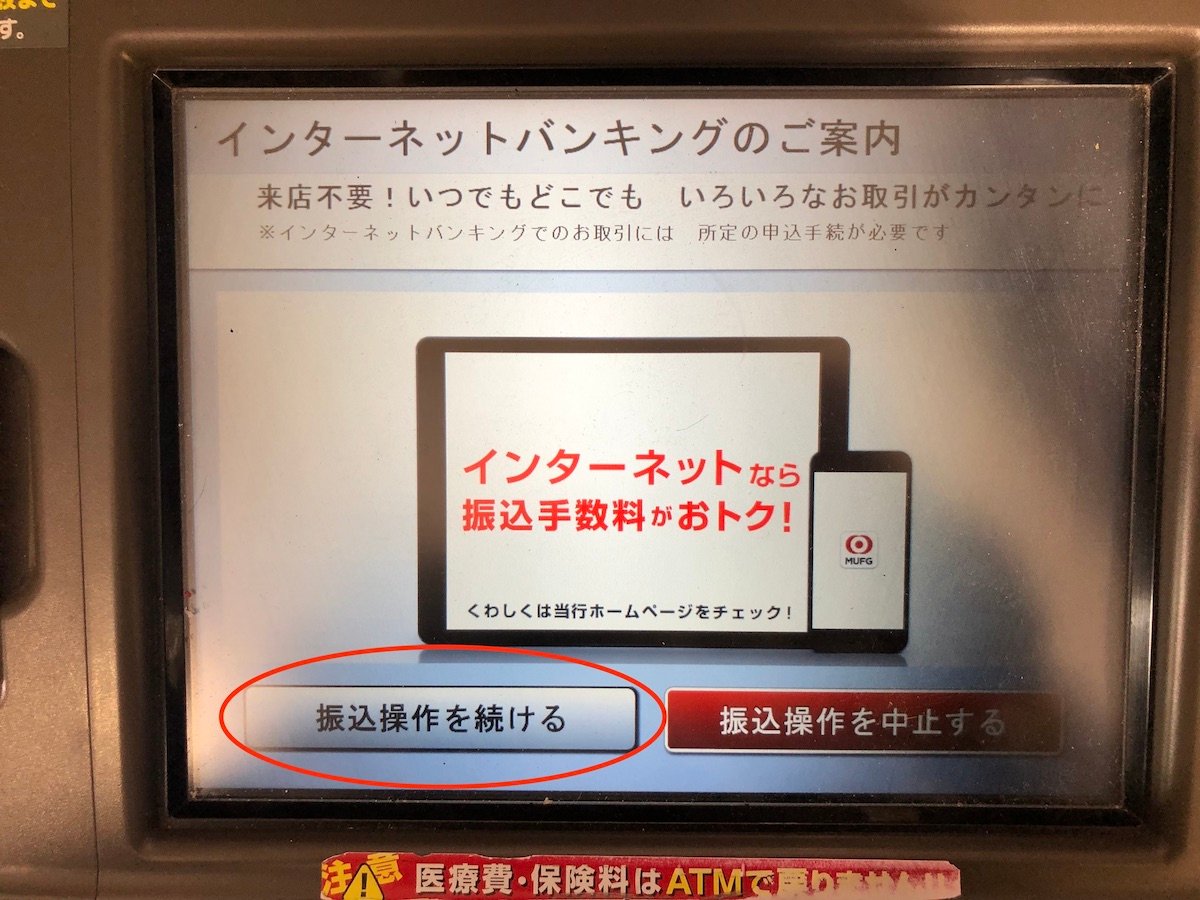
Go through the anti-fraud screens.
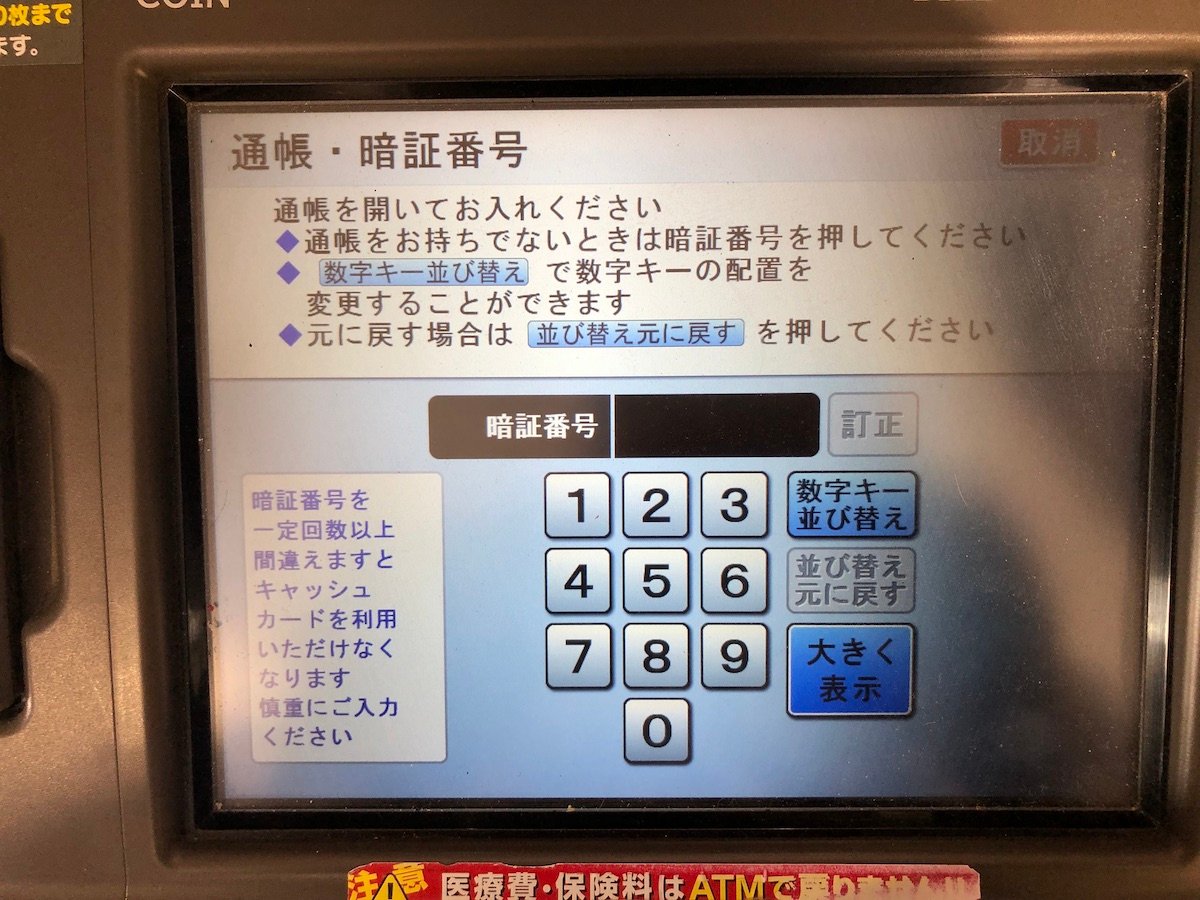
Place your PIN.
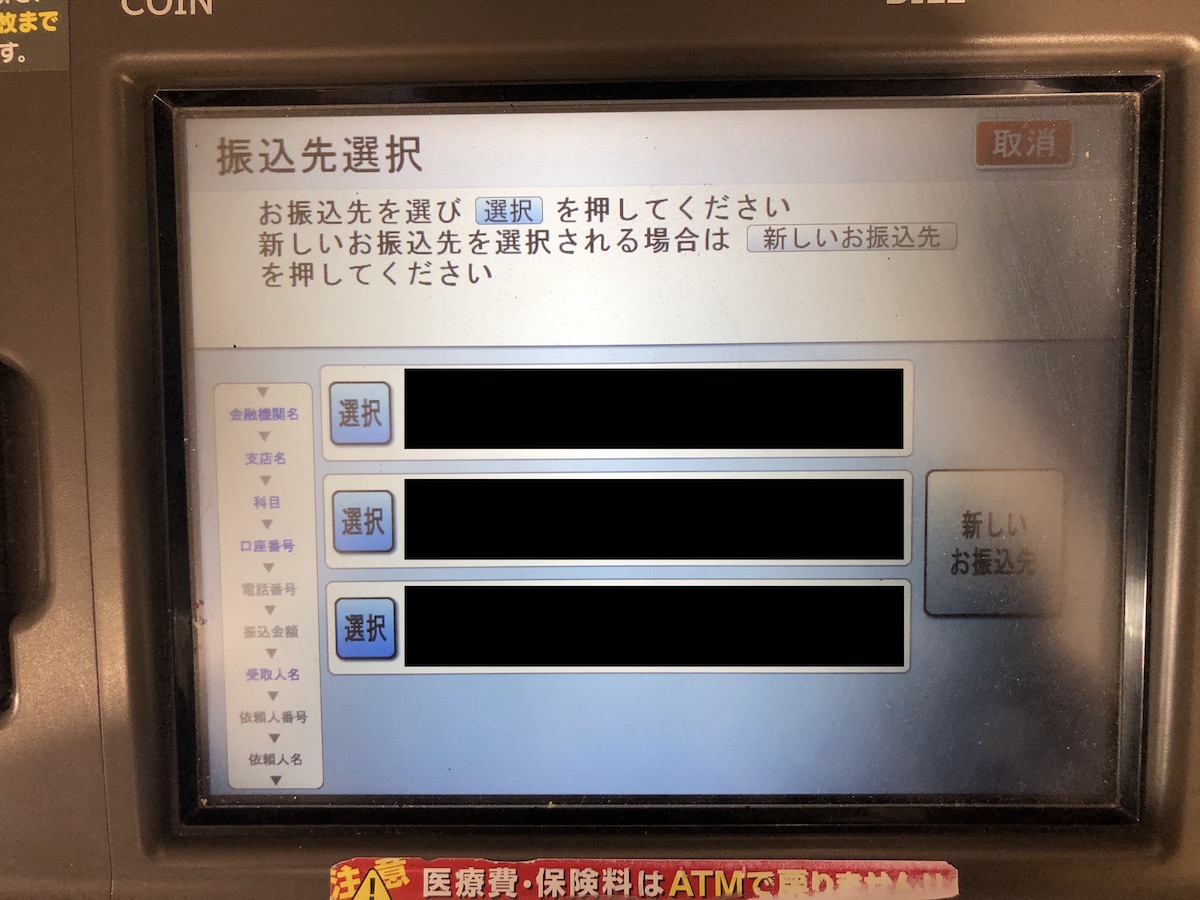
Choose from registered recipients (if any).
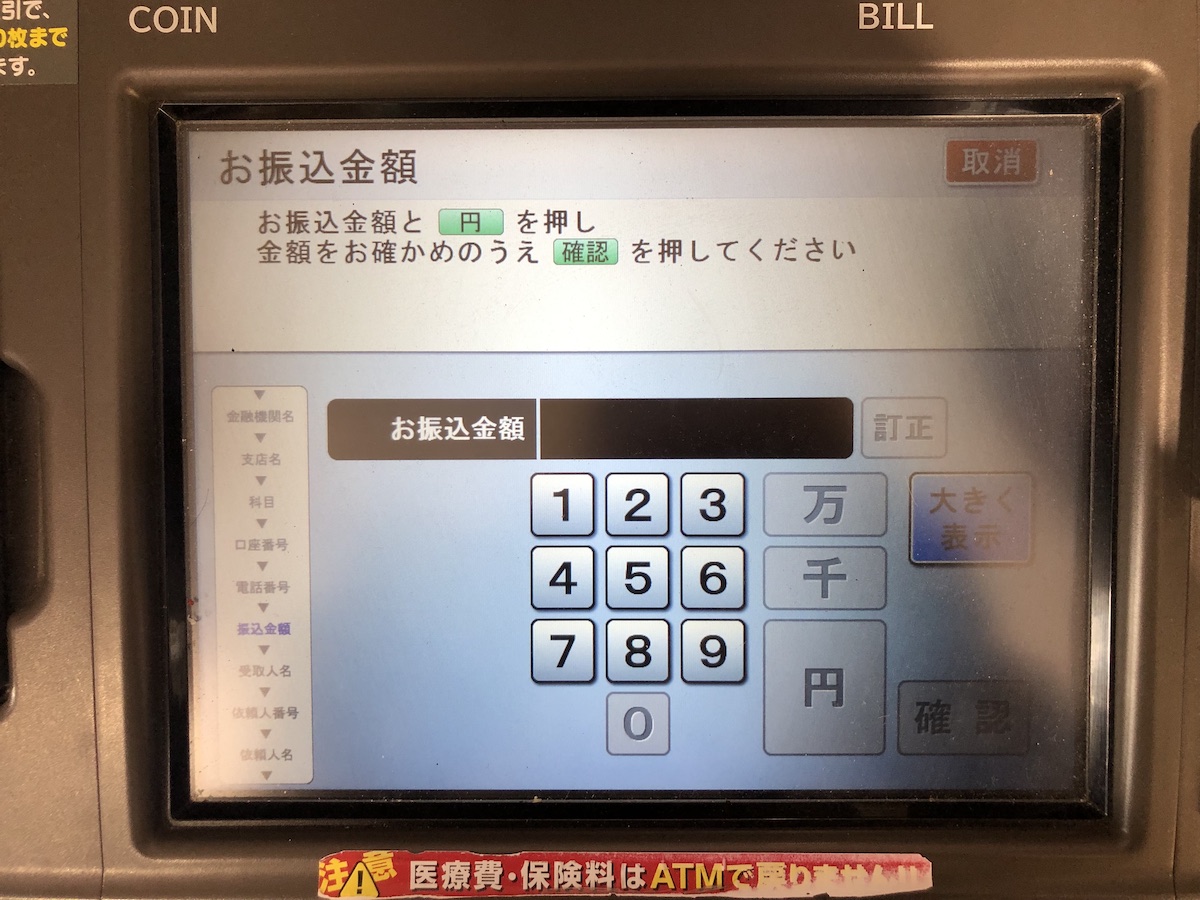
Enter amount.
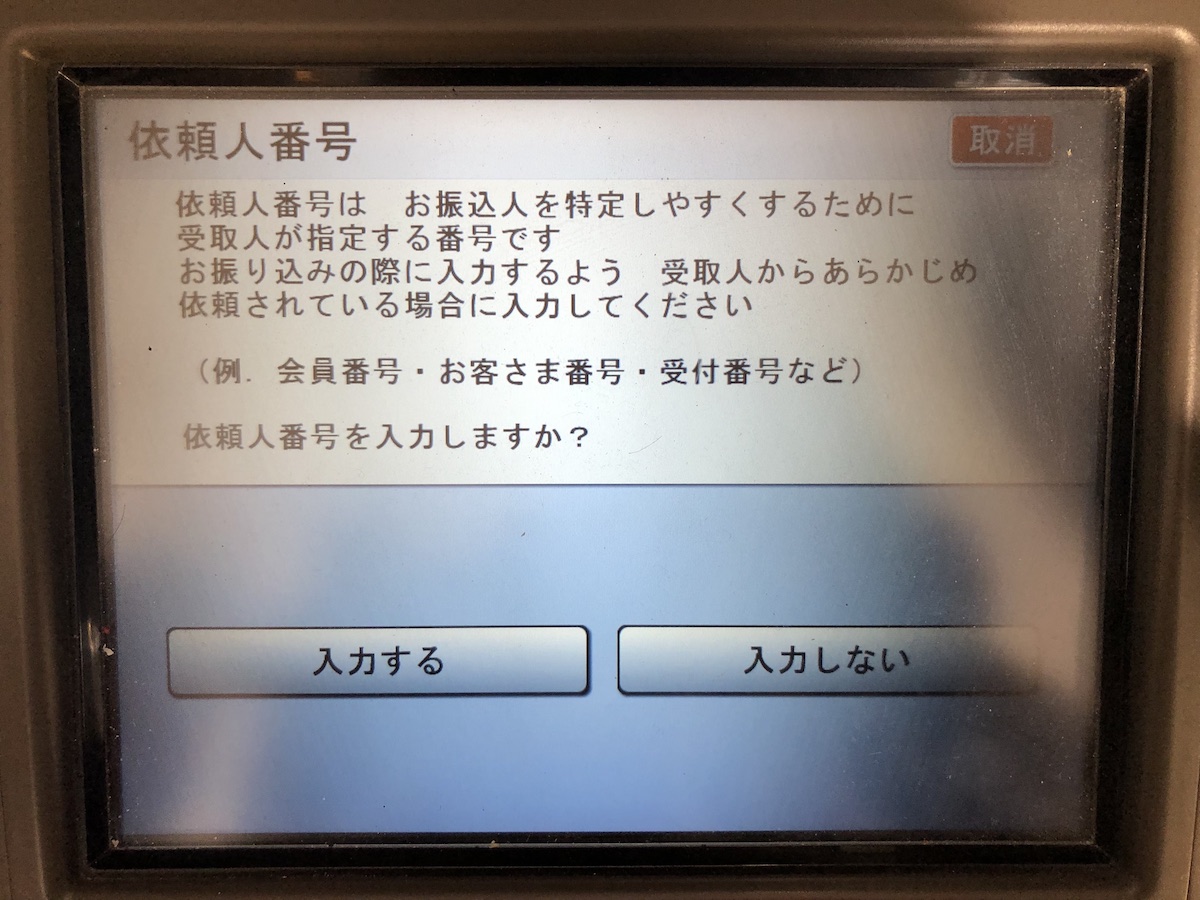
Pick the left if you want to add any reference number or the right if you want to skip.
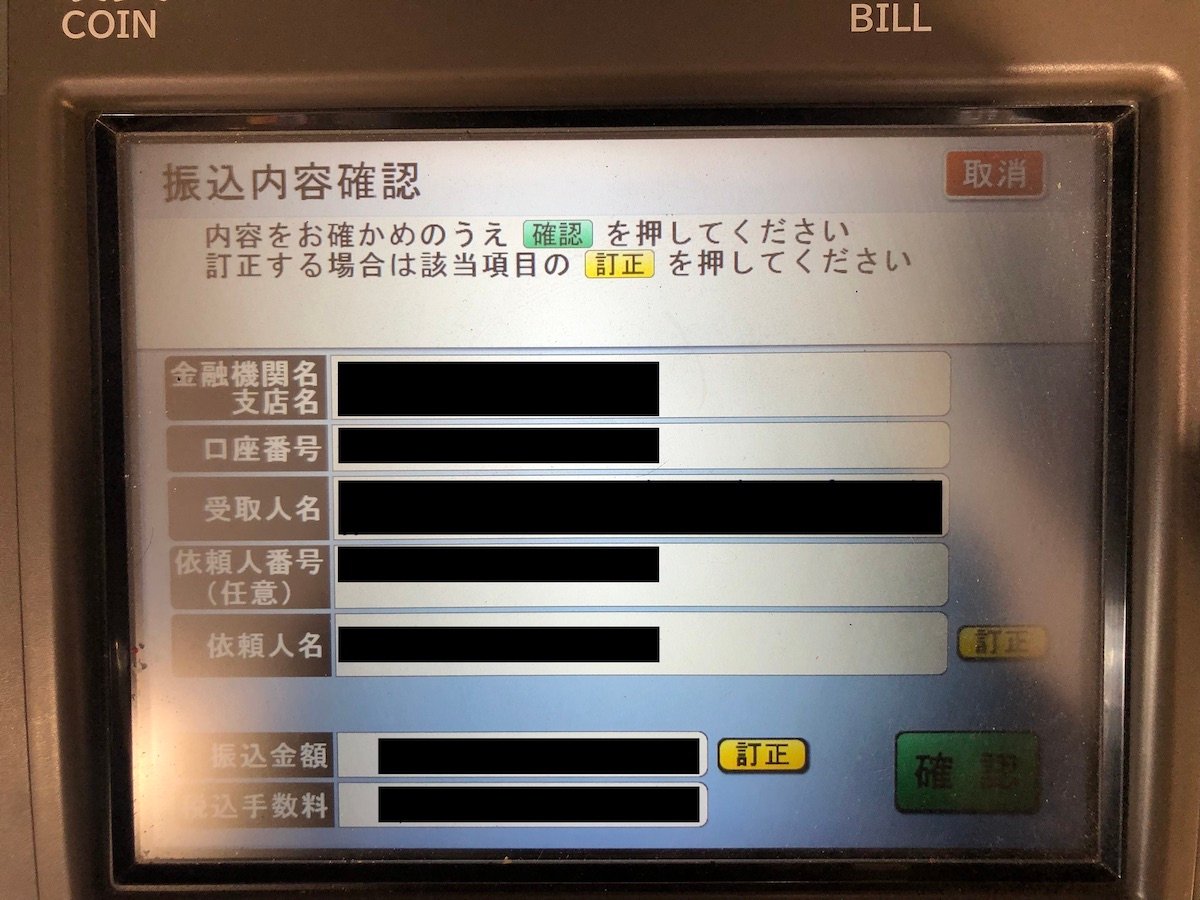
Confirm the details.
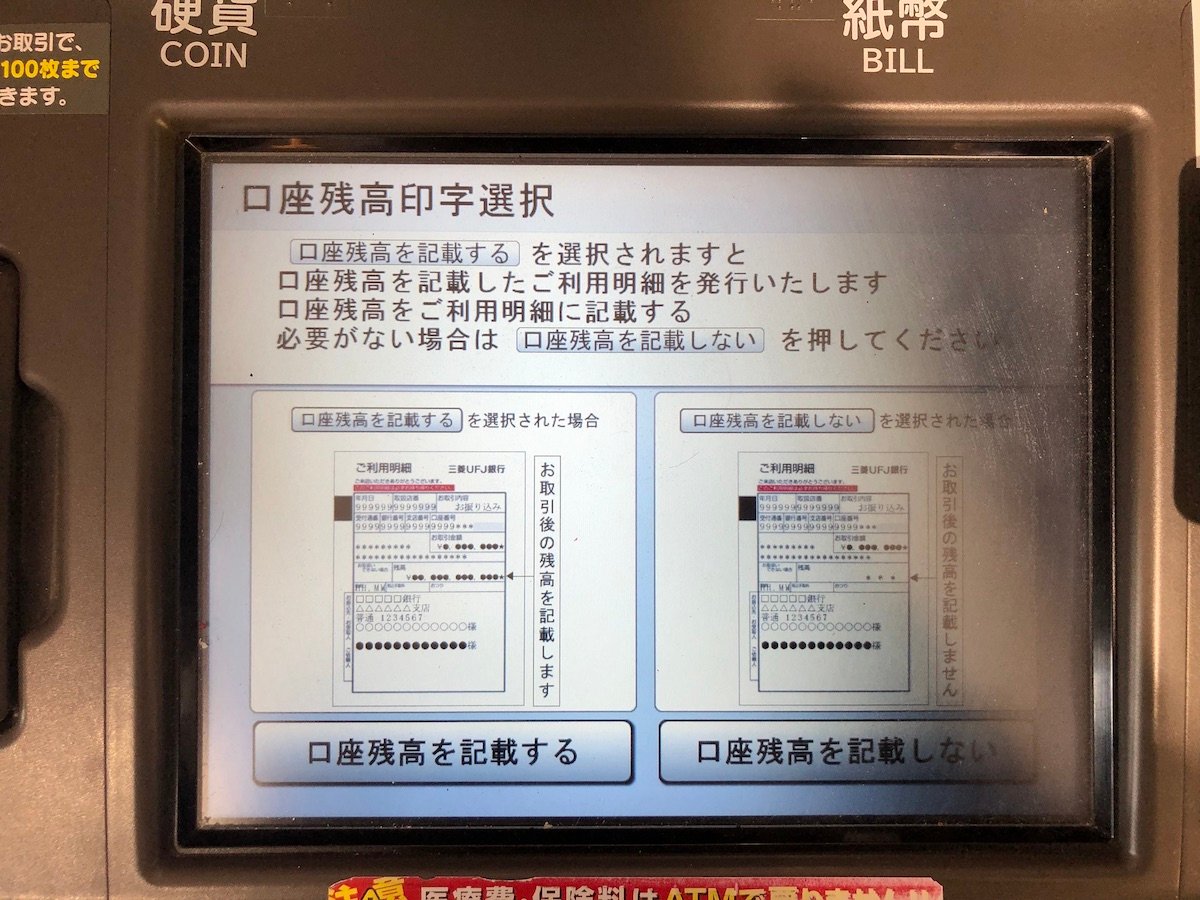
Choose the left if you want to indicate your remaining balance in the receipt or the right button to hide the information.
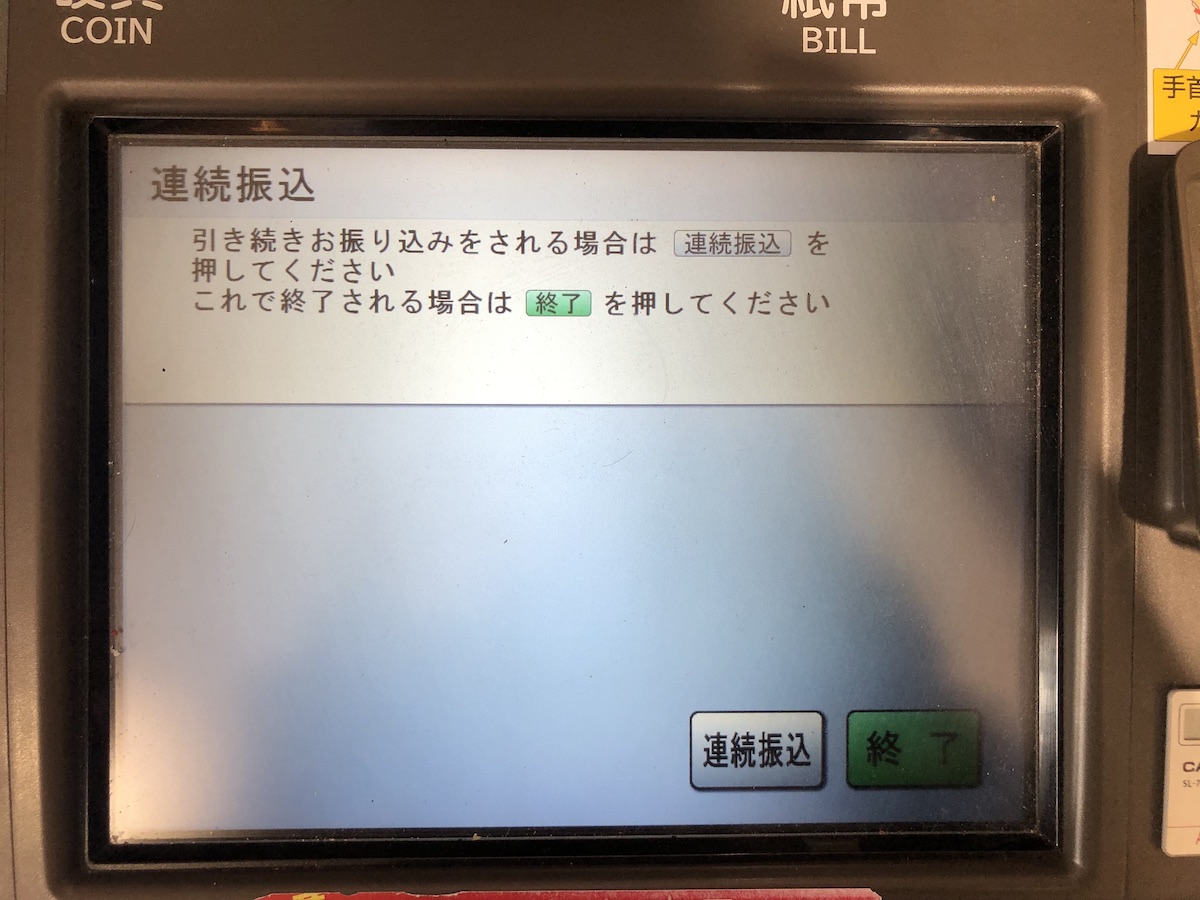
Click on the gray button if you want to make another transaction or the green to confirm and end.
Here are the photos to choosing a new recipient:
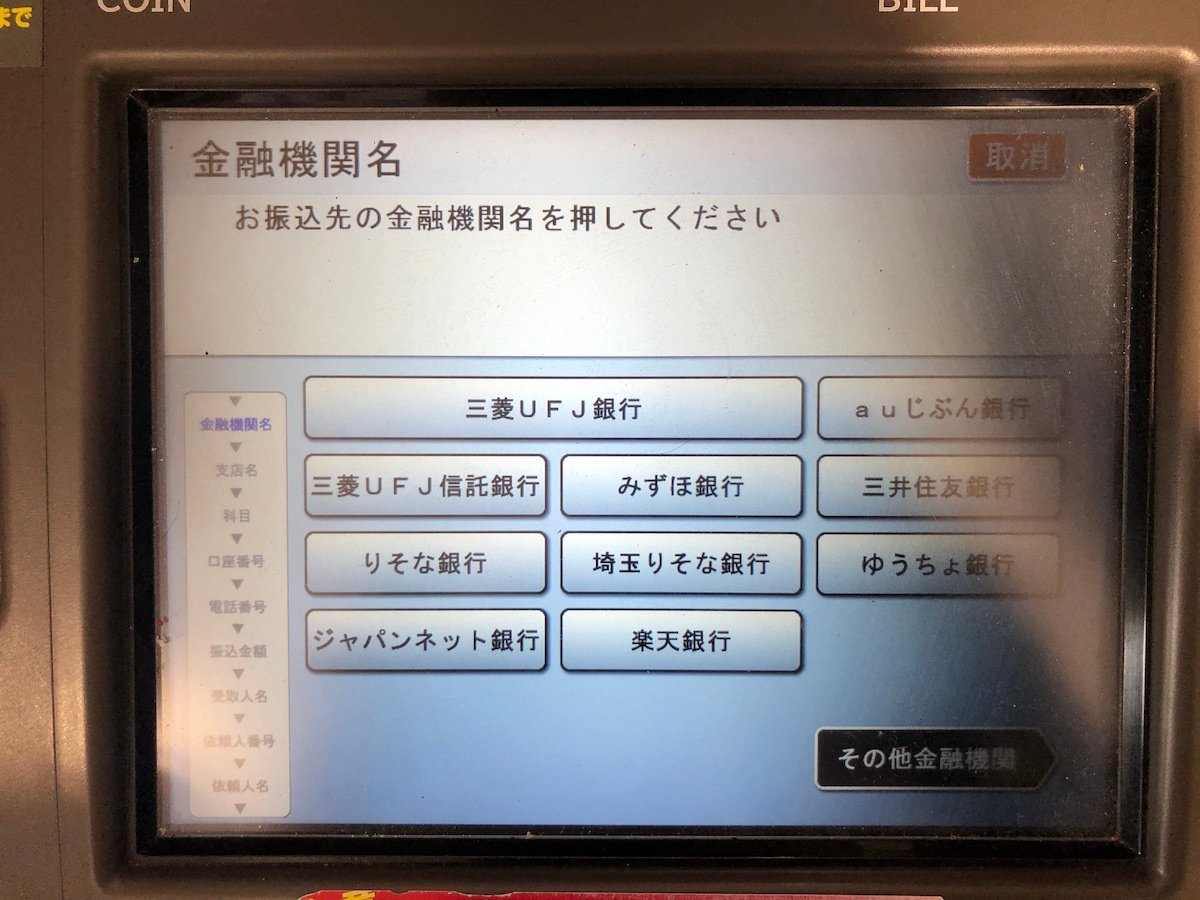
You pick a bank.
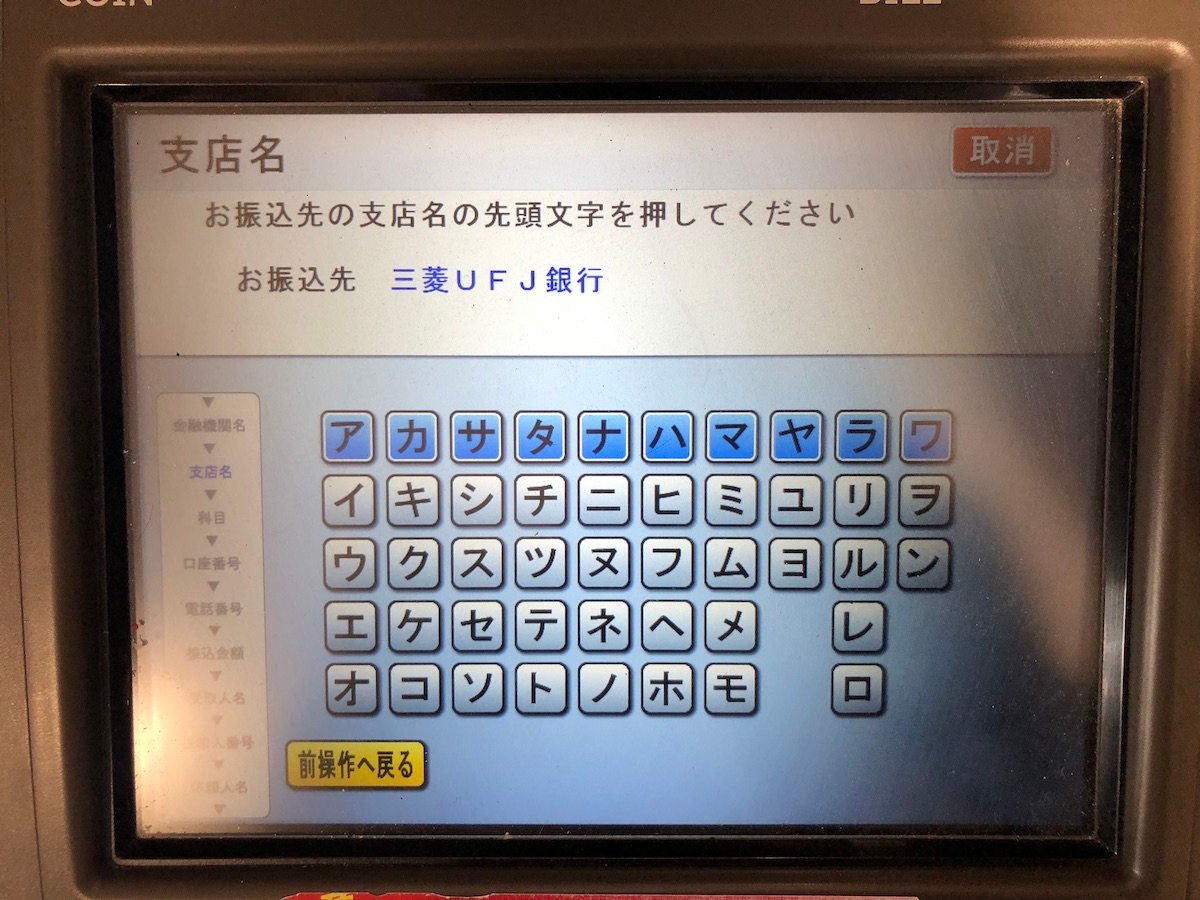
Then the branch based on the first character

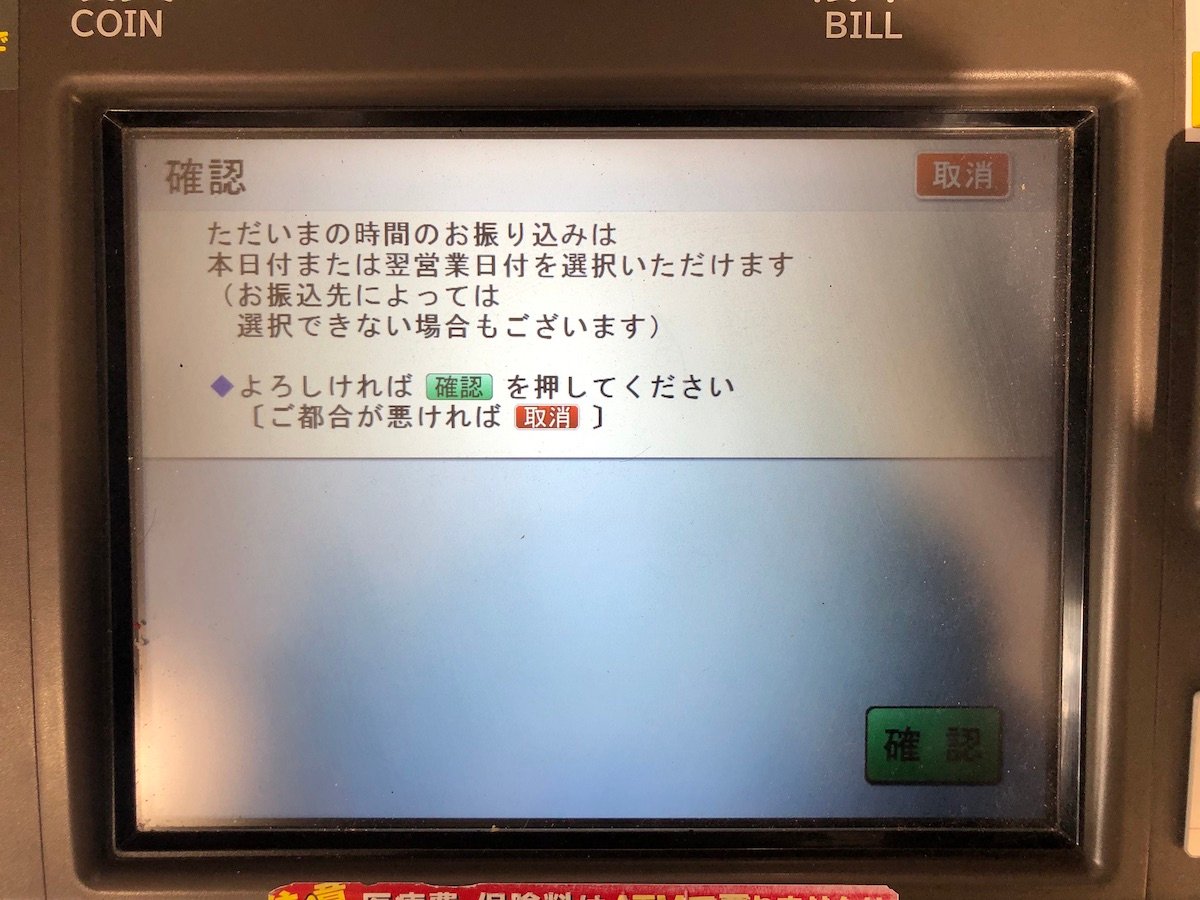
In case you make the transfer on the weekend, you will be given a choice at the beginning when the transfer would be made, whether on that day or the next business day.
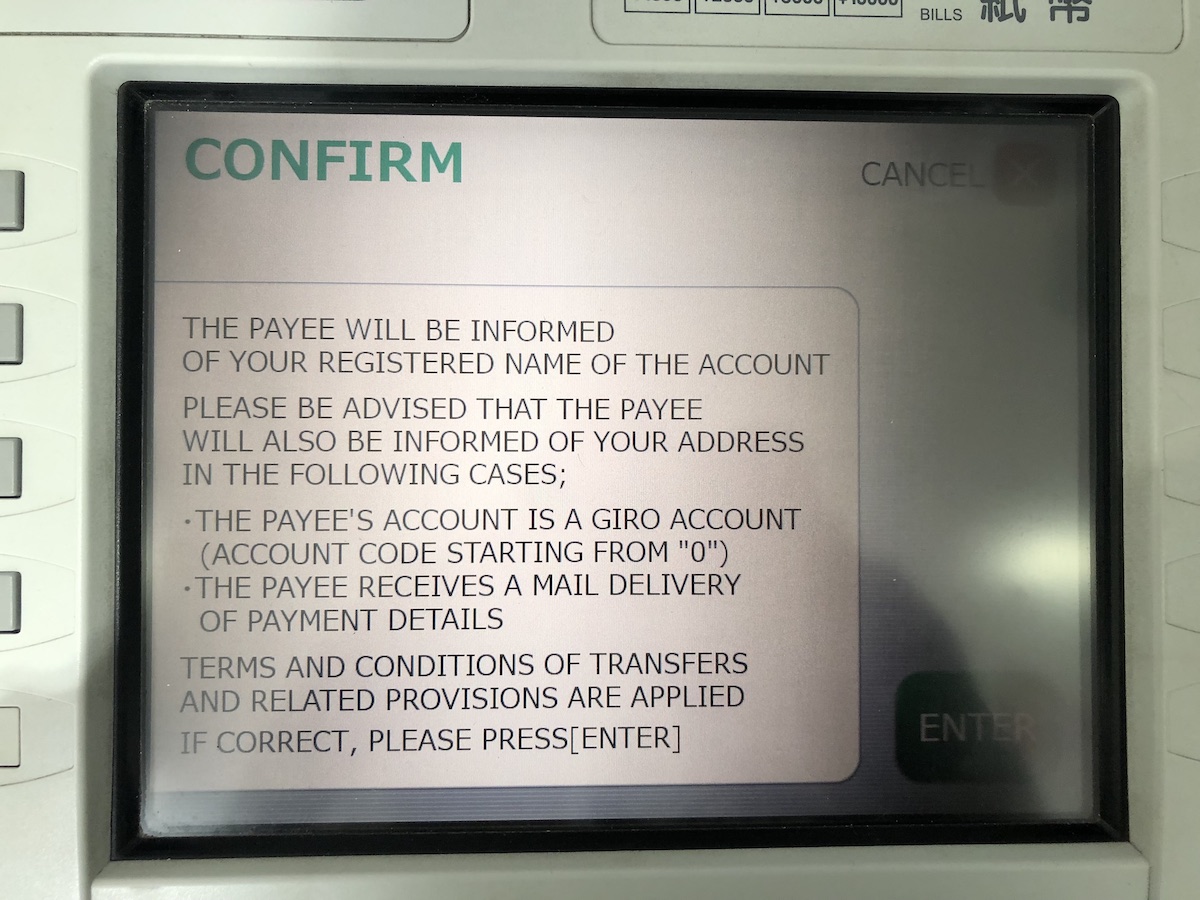
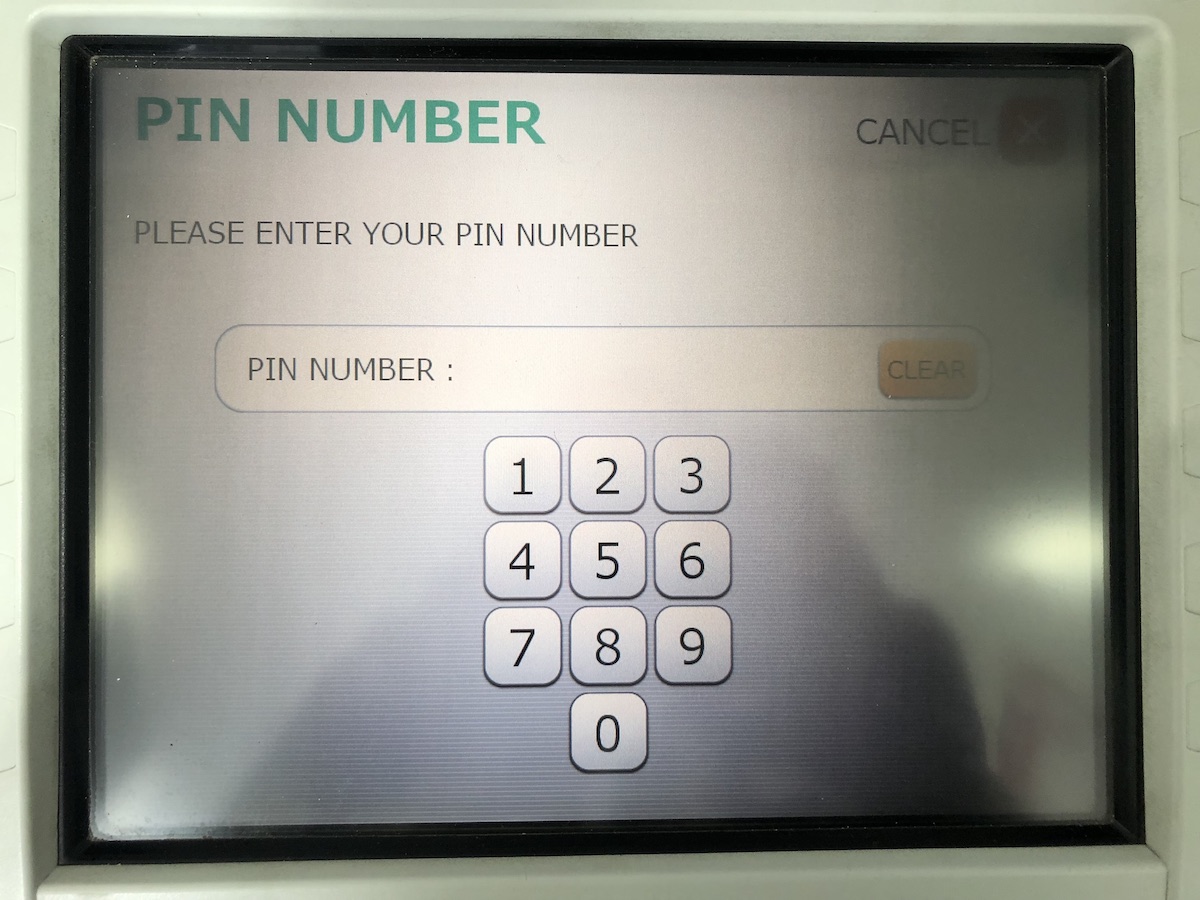
For JP Post Bank, you can click the green English guide button at the bottom right and go to “Remittance.”
Enter your pin.
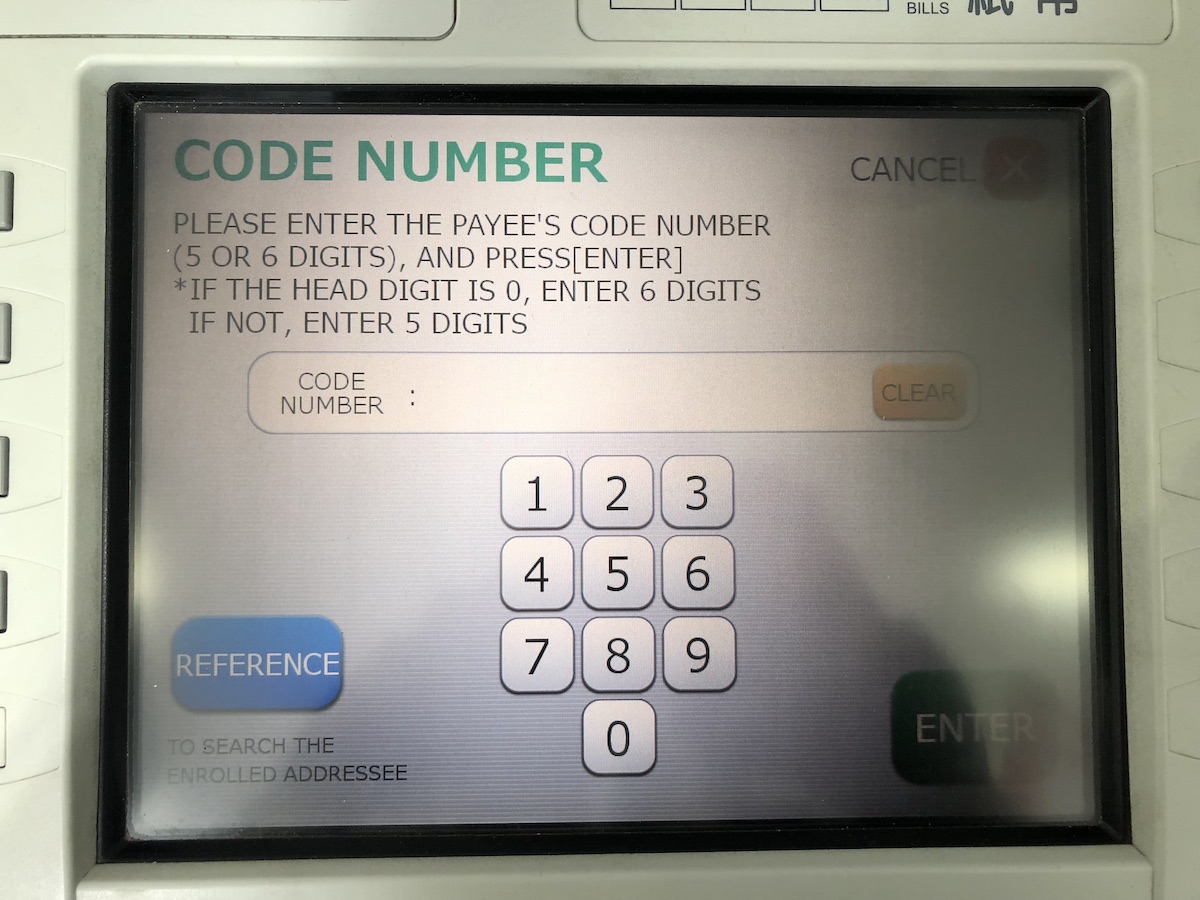
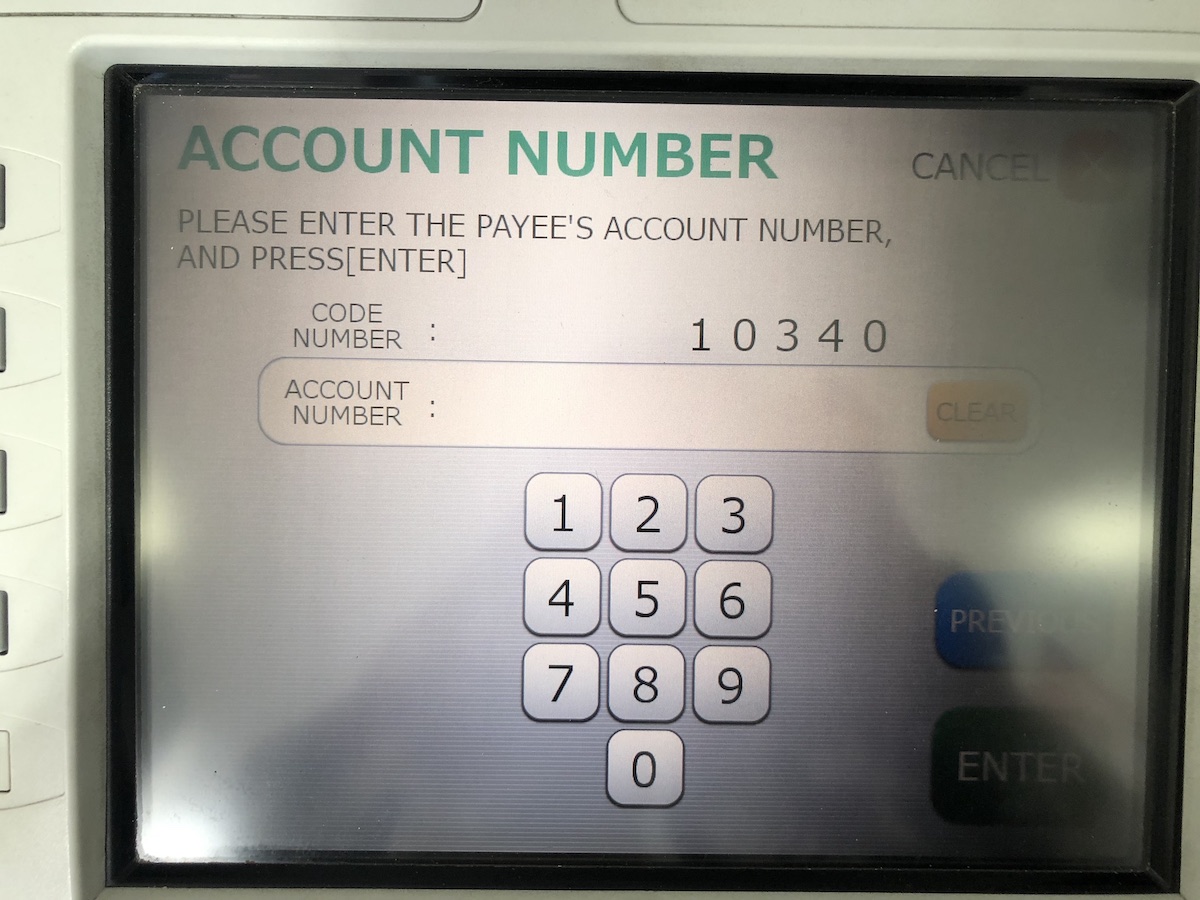
Enter the recipient’s code number followed by their account number.
Then you follow the same steps of adding the amount and confirming the transaction.
Get acquainted with the kanji
No matter the financial institutions, you will need to provide the same details to make a bank transfer. Let’s cover the terminology and accompanying kanji so you can approach that ATM with confidence.
Of course, there lies the chance that your ATM already offers remittance services in English, so you can make a bank transfer without having to scramble through the kanji. Take note that the selection of bank name and branch might still be in katakana.
Frequently asked questions
Can I furikomi to other banks?
Yes, the ATM has a list of banks in its database and covers most of Japan’s financial institutions.
What are the fees?
You typically pay ¥110 for weekdays beyond banking hours, such as 8:45 am to 9 pm for MUFG. The fee can go up to ¥220 for some banks on weekends and holidays or if you’re using a different card from another bank to make the transaction.

How can I make it easier for future transactions to the same person?
Some banks offer to save the recipient’s details for future reference. You will end up with a contact book style list to choose from when you make another bank transfer in the future.
Other ways to make a furikomi
You aren’t only limited to making a bank transfer through an ATM. Your other options include online banking or a bank wire transfer if you need to transfer money internationally. When doing an international bank transfer, you can use services like Wise (formerly Transferwise), Western Union or PayPal as these are often more affordable and user-friendly compared to a wire bank transfer with high bank fees and lower exchange rates.
For example, Wise accepts manual bank transfers with minimal fees, so I can simply prepare the transaction using the app and go to my nearest ATM to do the furikomi to Wise’s Japan bank account. The larger the amount you’re transferring, the more savings you get doing a manual transfer using furikomi compared to Wise automatically deducting the amount from your registered bank.
Some of the major banks also offer PayEasy within their online banking, so you can also pay utility bills, load your online wallets, and more using the application.
To ensure that your online banking and furikomi transactions remain safe, you can activate two-way authorization or email notifications for your bank account. This way, you can quickly monitor what goes in and out of your account.
It only takes you one or two tries before you begin seeing the benefits of doing a bank transfer in Japan. Soon enough, you’ll be looking for transactions that cater to furikomi just because it’s so convenient. With that said, enjoy!


